Having initially posted on the ‘Tactical Command’ forum I have been asked by a couple of people about how I had painted the models I had posted there. Rather than posting the painting guide on the Tac Com forum I decided it’s best placed here, given the volume of posts and information that was ‘lost’ in the Baccus website/forum redesign. Tactical Command can be found at :-
http://www.tacticalwargames.net/taccmd/index.php
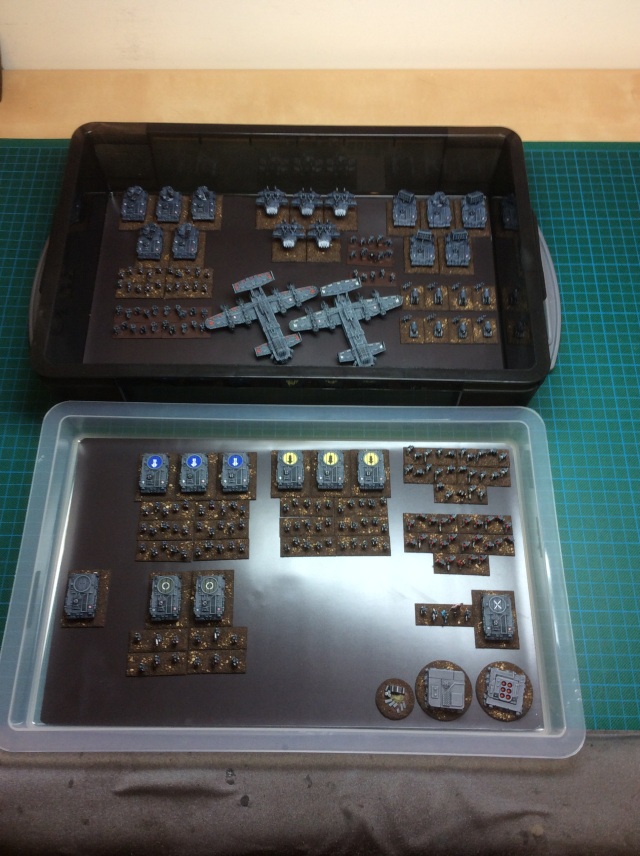
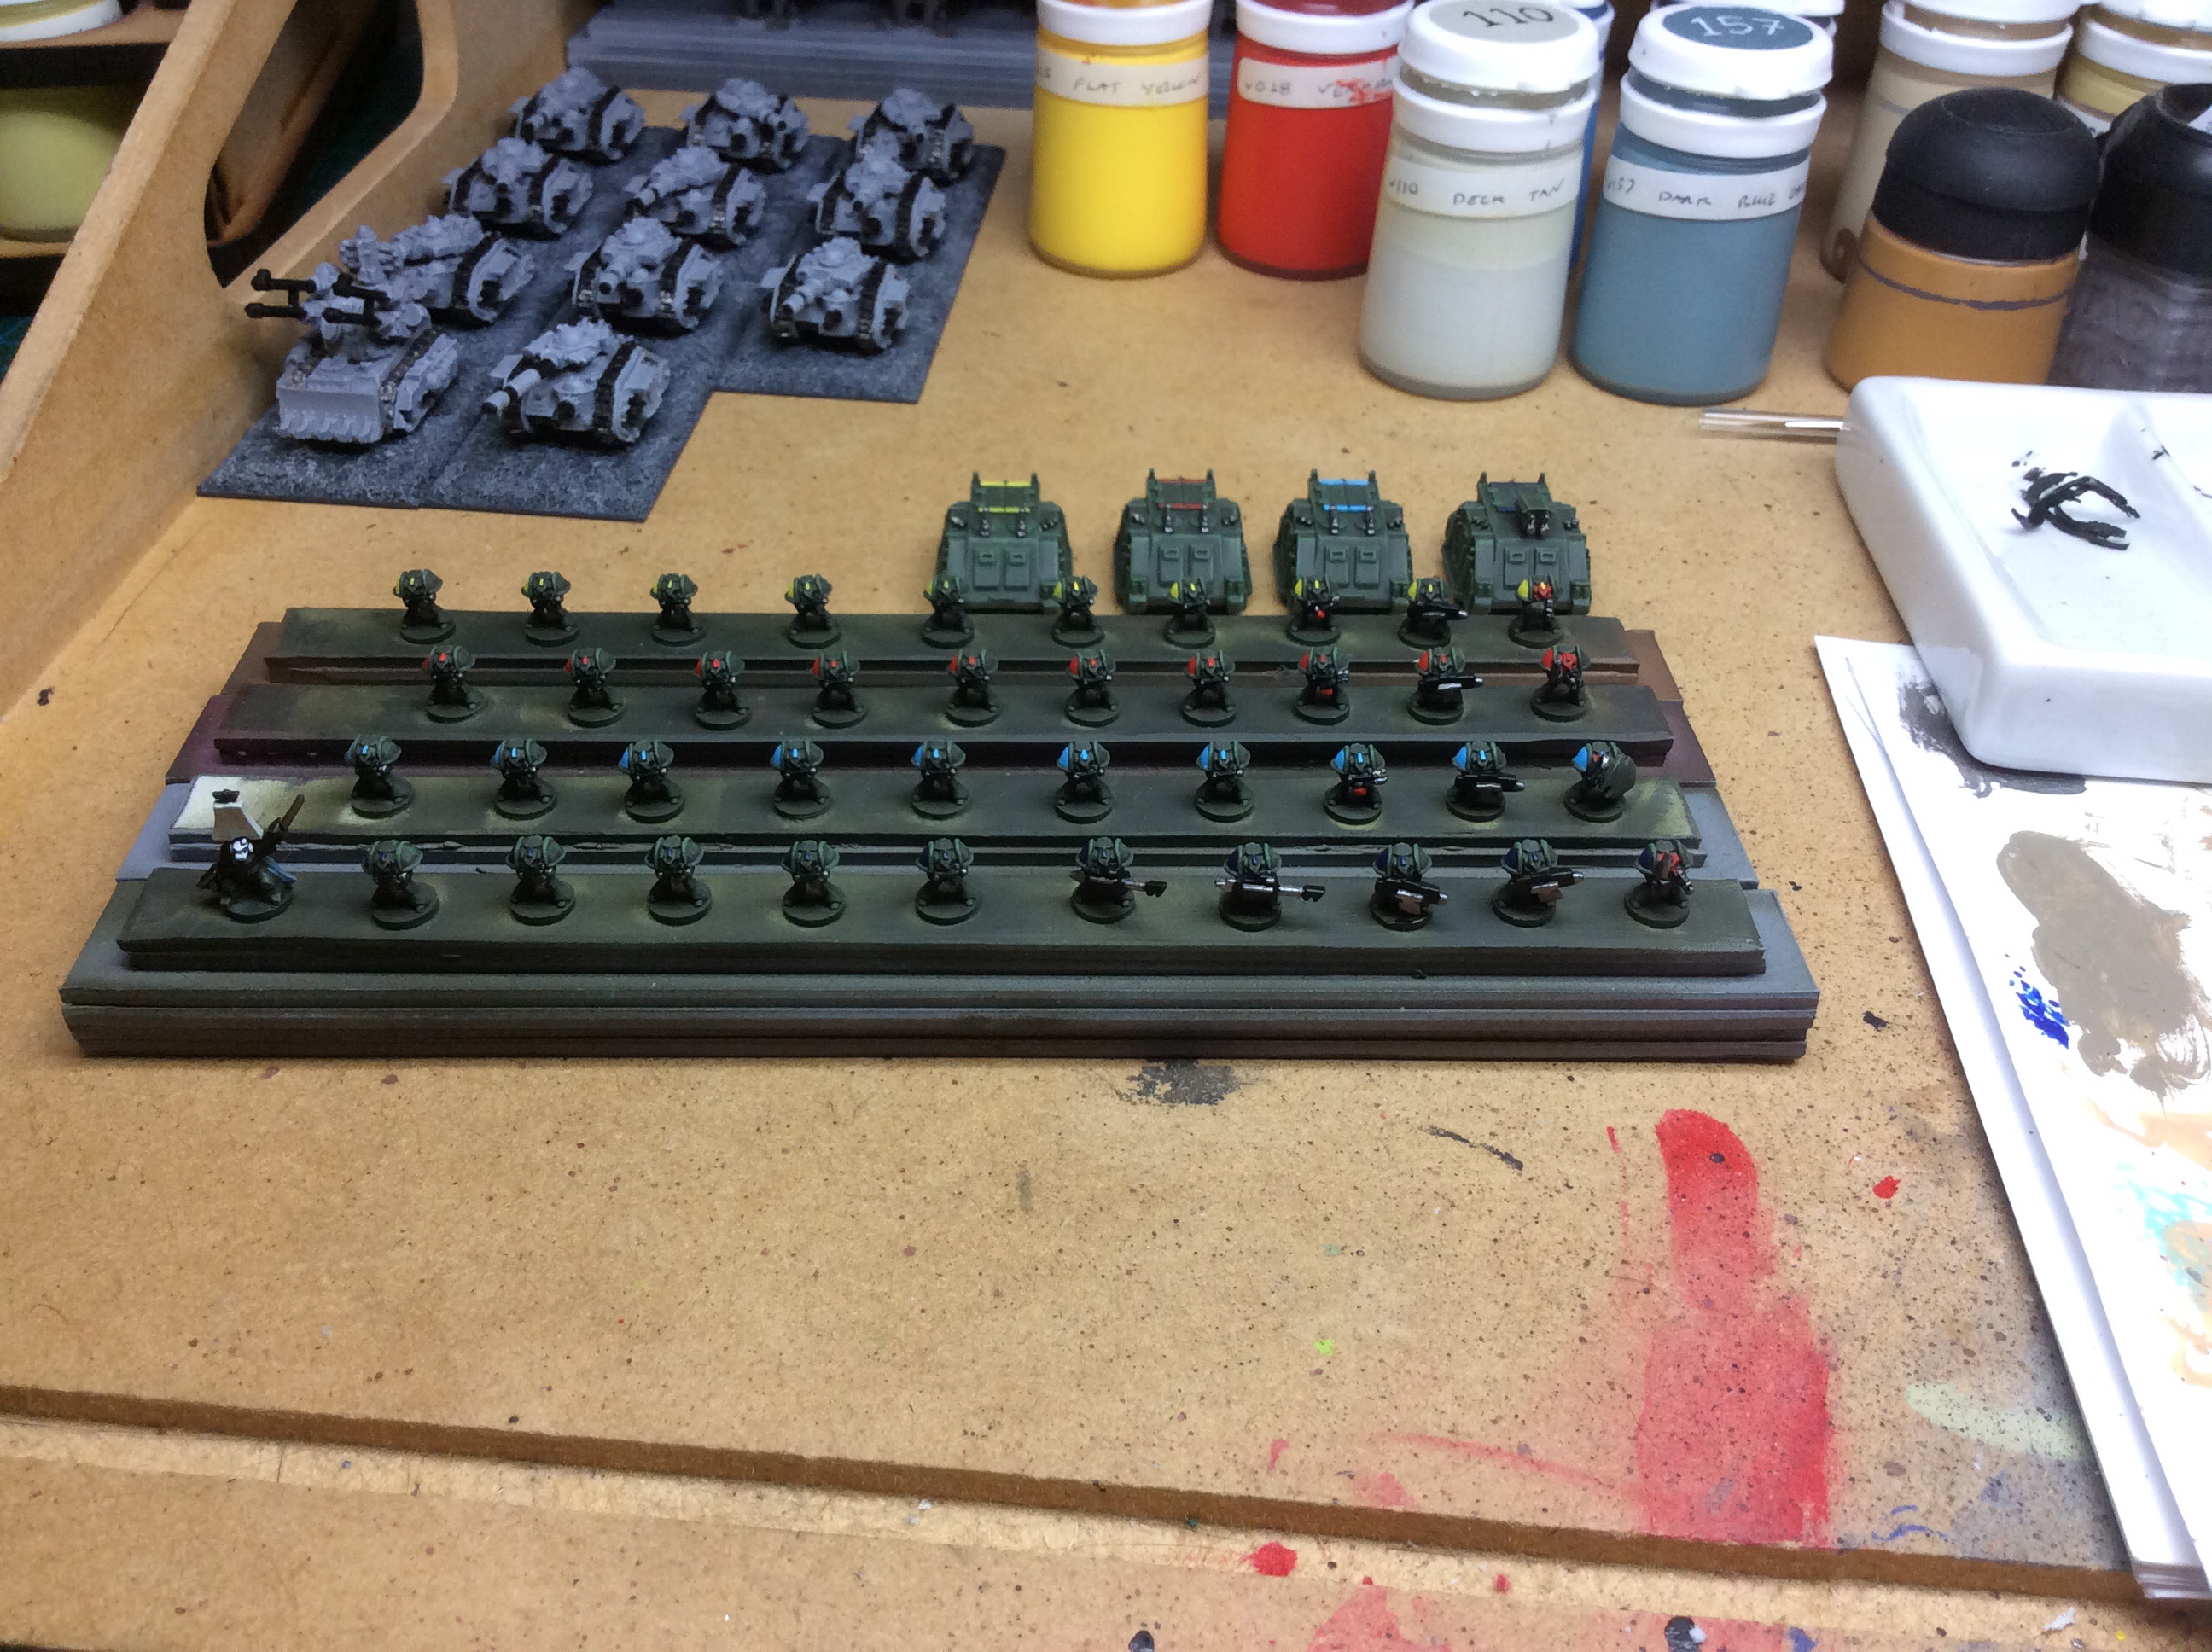
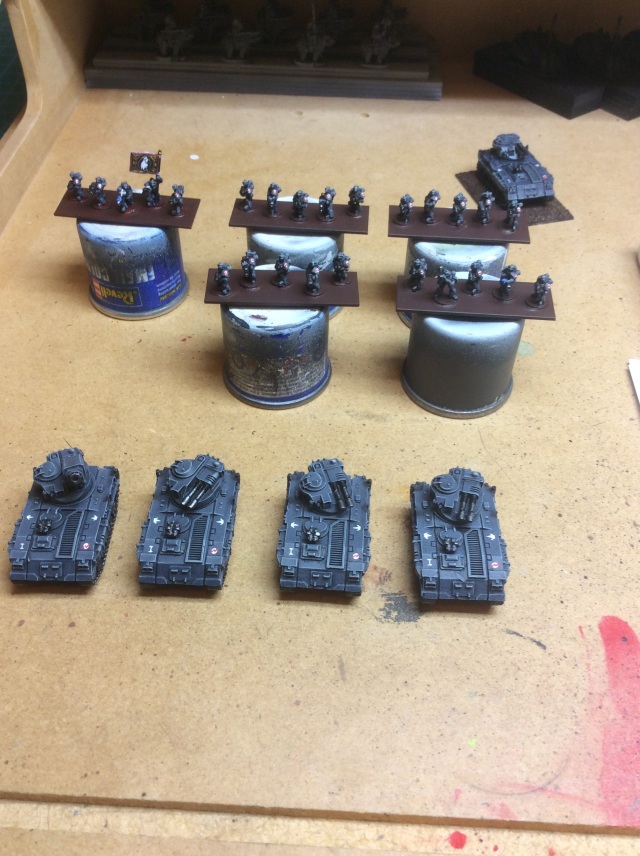
Without further ado here is a blow by blow account of my painting of a Heavy Weapons Detachment, Support Trojan IFV’s sporting twin lascannon turrets, and anti-air variant. I also took the opportunity to throw in doing a command stand because I really wanted to see how they painted up. The figures are all from Troublemaker Games (TMG) and are largely from their 4th indigogo campaign (not yet available on general release at time of writing). Their homesite is :-
http://www.troublemakergames.co.uk/about.htm
…and if you are interested the Wave 4 Indigogo Campaign history :-
https://www.indiegogo.com/projects/6mm-scale-armies-wave-4#/story
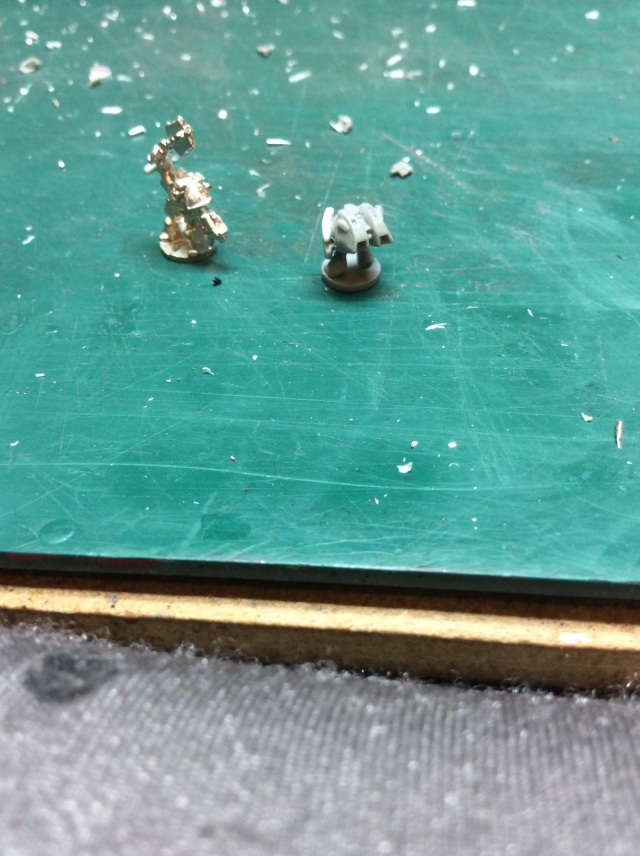
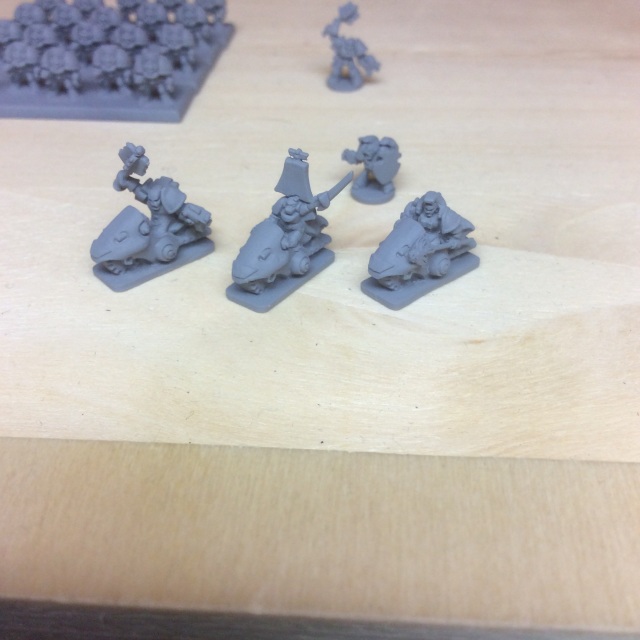
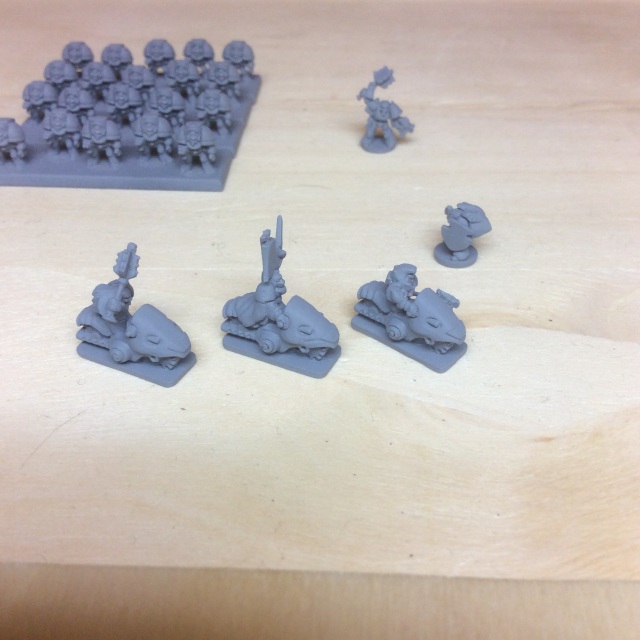
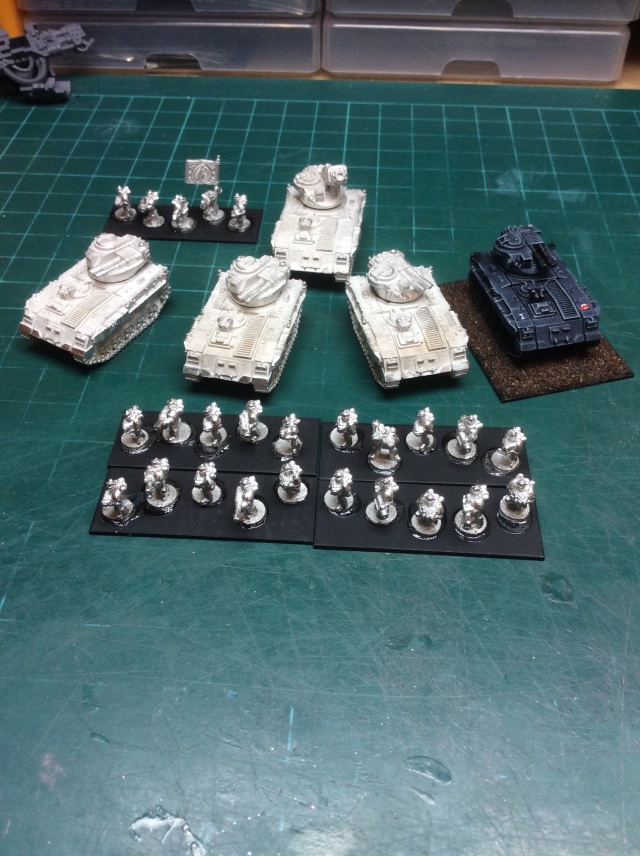
Having painted up one Trojan IFV as my test model I needed a further 3 Trojans and a single anti-aircraft variant. For the Heavy Weapons bases I used the Wave 4 Heavy Weapon Affray infantry (from the Affray Specialist set) along with standard Affray Marines already available from TMG. As per my obsessional personality I cleaned off the moulding lines prior to painting. Both the 3rd and 4th wave models are good castings. However, the first difference I noted was that the Wave 4 models have certainly benefited from a slightly different production method. They are ever so slightly bigger than the standard Affray Marines and there is an appreciable improvement in casting.
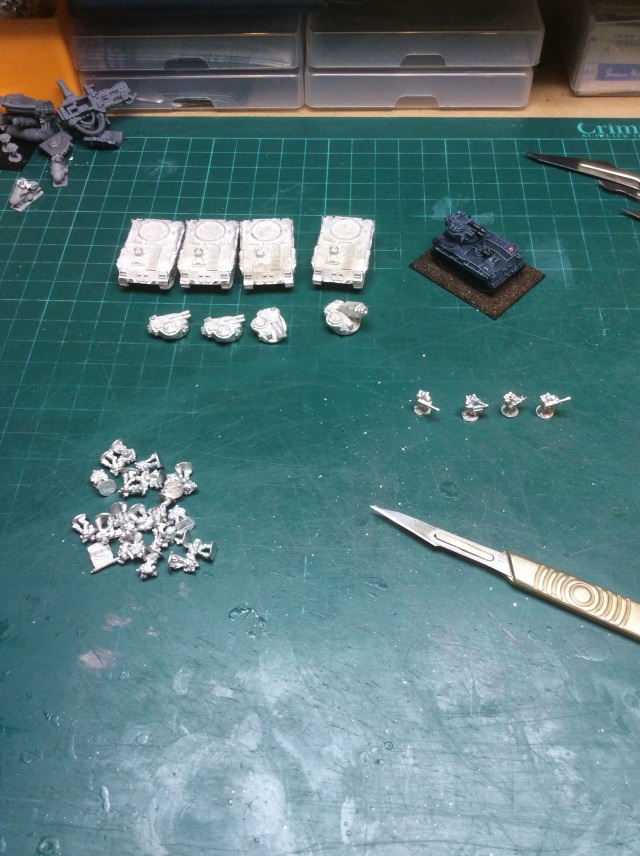
…and mounted on 40 x 15mm Steel bases from PWS. Why steel? Low profile, durability, and storage options mainly. Why 40 x 15 – close enough to the 40 x 12 commonly in use and gives a little extra space on the base. I plan to do my more organised armies on long bases and the more mobbish / swarm armies on more square 30 x 20mm bases, with increasing bases for the more oversize models.
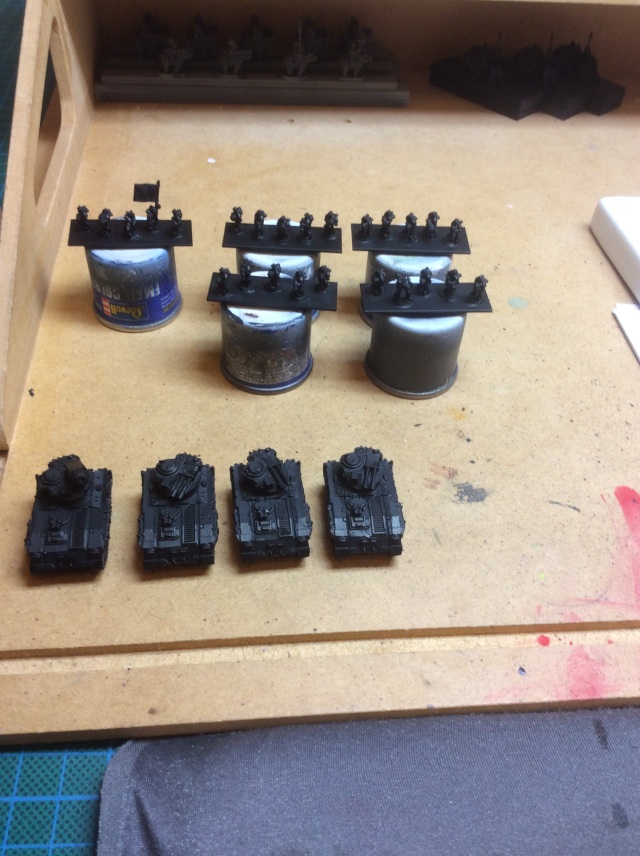
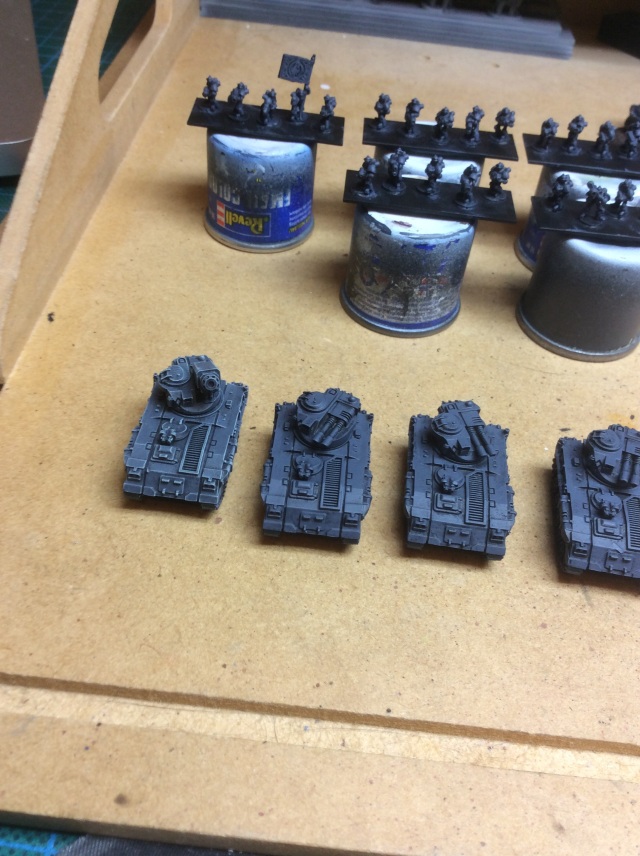
Next up they were primed in black, did not quite get full coverage in the deeper recesses so went over those ares with a thinned down black.
The next step was a wetbrush of Valejo 105 Lufwaffe Uniform using a large (size 3-6) scraggy brush. Don’t be fooled by the pots – I’ve repotted all my Valejo paints! For those not familiar with wetbrushing – it’s like drybrushing but you leave more paint on the brush. You still use a flicking action but it’s a little bit heavier. The aim is to almost basecoat the model without going into the recesses. You still have to reduce the paint in the brush which is where I use a piece of card. Less is more as you can always build the layers of paint up – it’s not so easy to remove a splodge though!
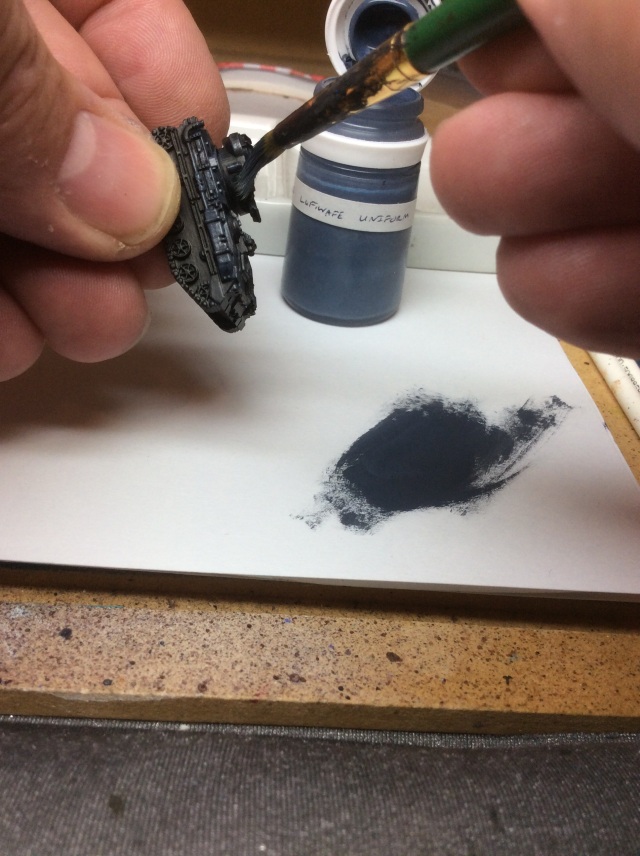
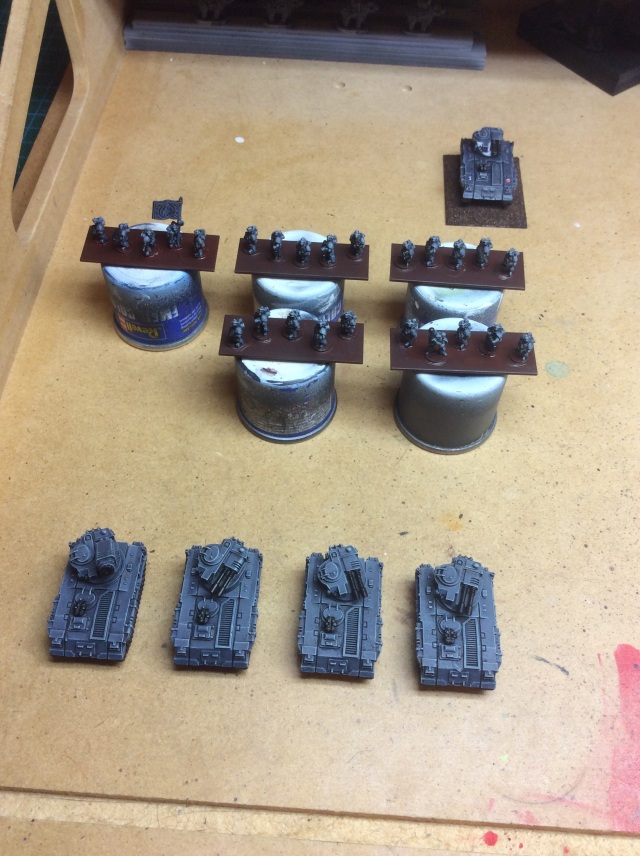
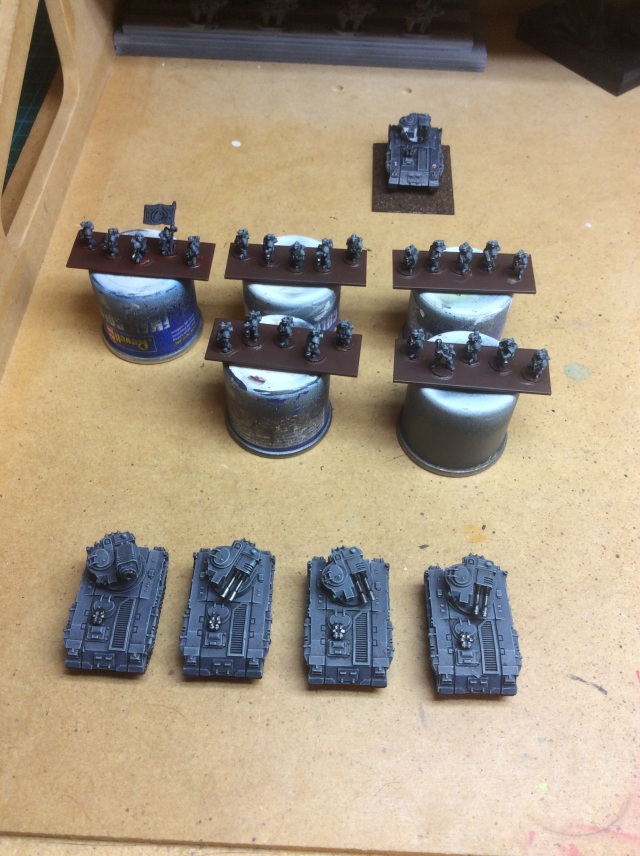
Next up its a highligh of Valejo 107 Light Green Blue. This is applied as a more traditional drybrush to create the effect of hard lining. This two stage effect works very well on the vehicles, OK but slightly less well on the infantry. You can get an idea of the difference in wetbrushing and drybrushing from the card I use to get the right amount on the brush, note how it fades away to the left of the highlight colour. As with wetbrushing go light on your application and build the effect up, which can be clearly seen on the second photo.

Next I blacked up the guns and tracks, with no surprises Valejo 169 Black. This is the first time I pick up a semi-decent size 0 or 1 brush! I also using an old size 0/1 brush stipple black around the exhausts for effect.
Parts of the guns and the tracks are then gone over in Valejo 179 Gunmetal.
Now we get onto detailing using a very fine detail brush. First with white to indicate unit 1, heavy weapons explosion, and start of badge with a white dot.
Then we add the red flashes with Valejo 028 Vermillion.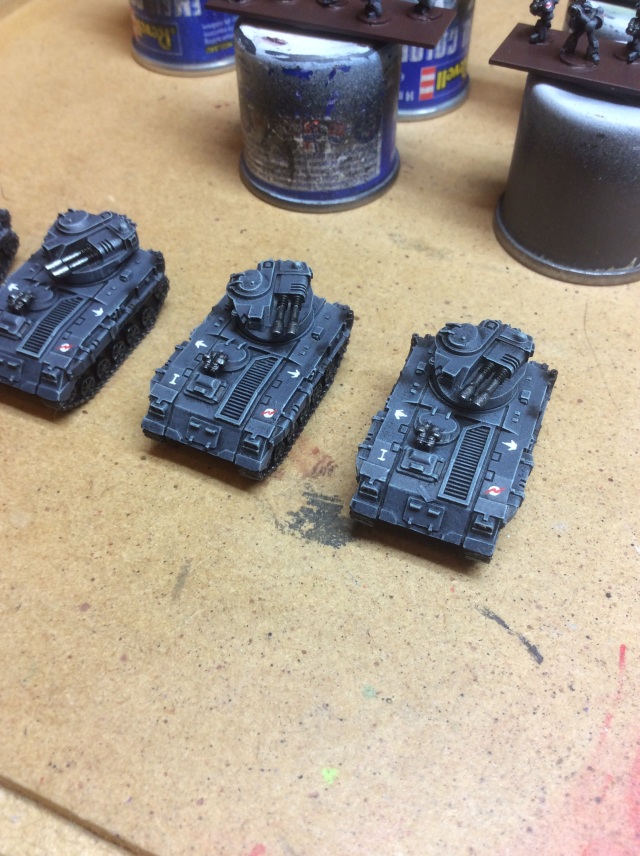
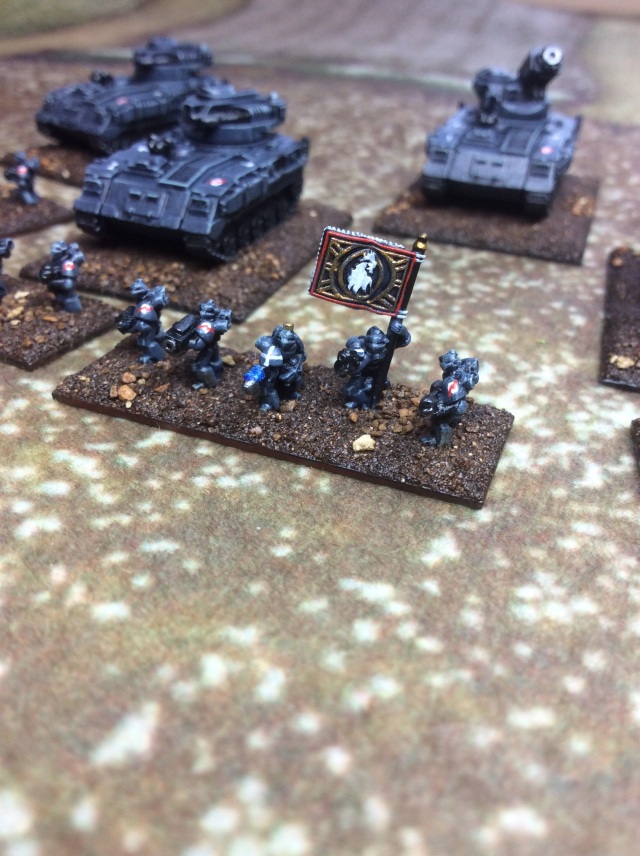
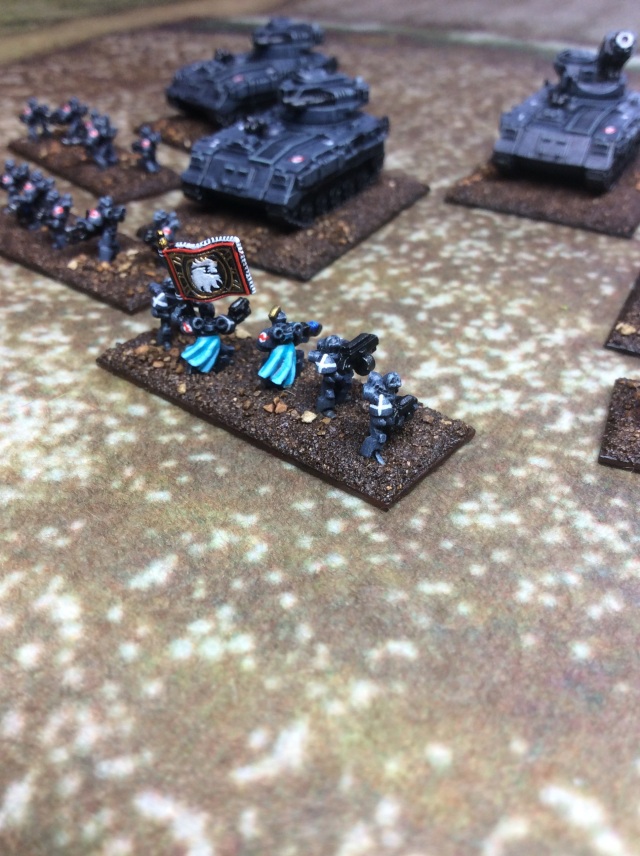
Finally various bits of detailing with commanders cloaks (v070, db v067), plasma guns (v052, db 067), and brass on the standard. Bases painted in some of the last remnants of GW scorched brown, but any dark brown will ultimately do.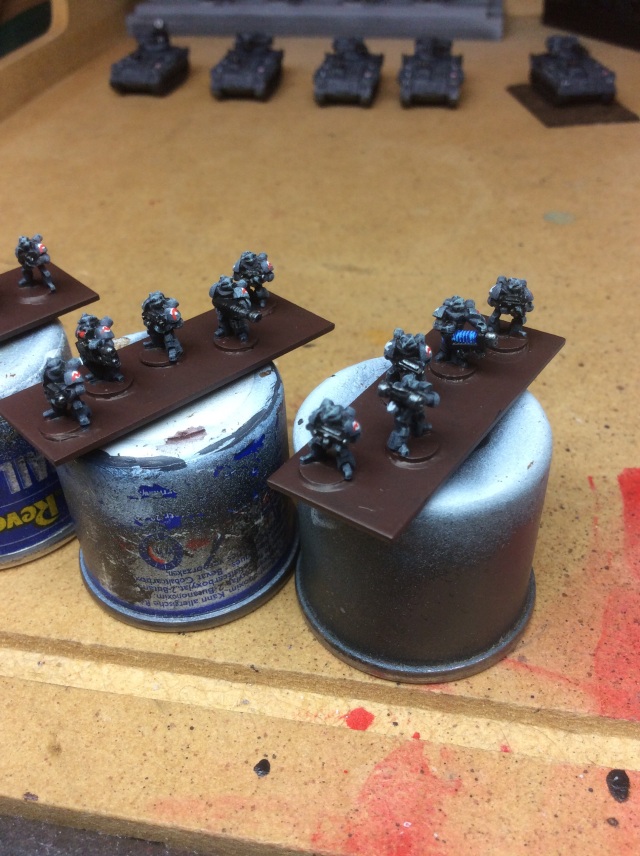
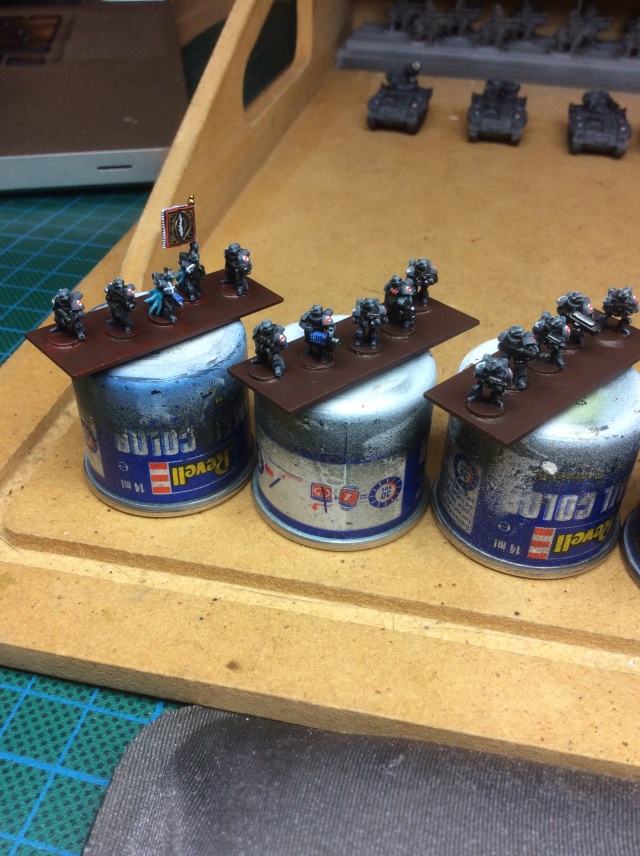
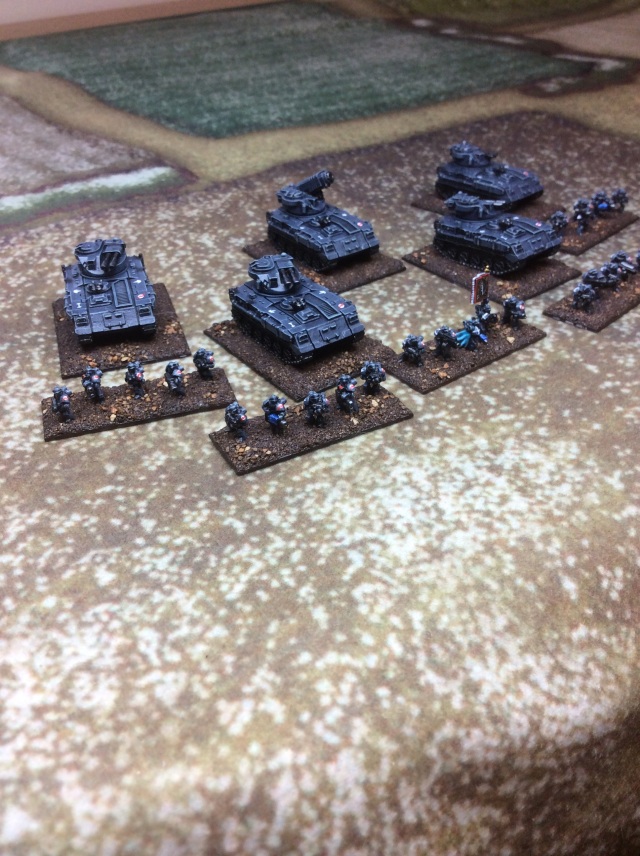
The unit all based and ‘Mikey mud’ applied. Not sure what end effect I will go for so leaving them at this stage until I am certain which way I am going. Leaning towards a North Africa look as I think I might want to tie them in with my new TMG Desert Infantry 😜 to face off the Skinner Orks….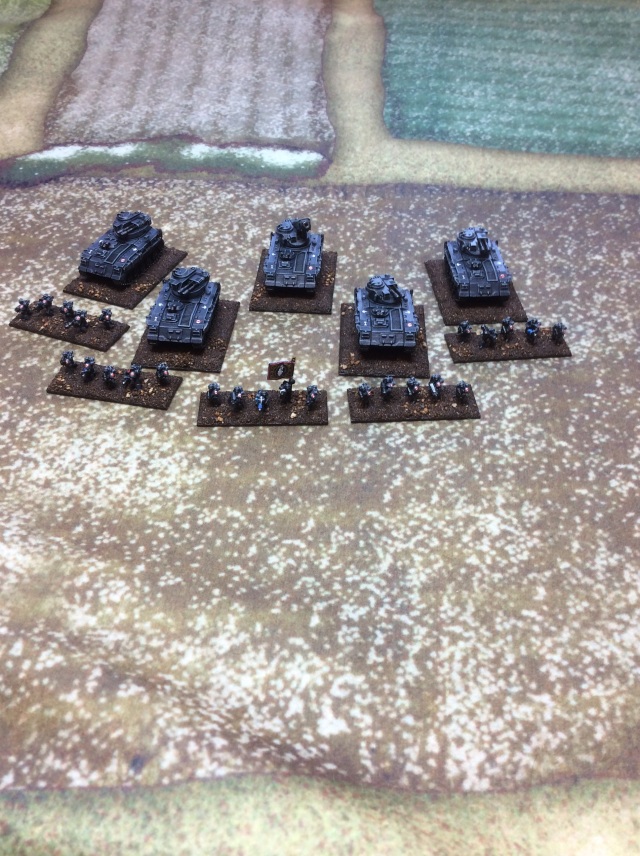

Painting guide
Black undercoat
Wetbrush v105 over main tank body and infantry
Drybrush v107 over main tak body and infantry
Flat paint over weapons and tracks
Drybrush v179 over weapons tracks and ‘wheels’
Symbols in v001 and v028
Command cloaks v070, drybrush/lined v067
Plasma guns v052, drybrush v066
Additional flag and commander crest detailing v174 brass
Next up :- ‘My ARK project’ from earlier in the year……