Here goes my first AAR on my blog following a cracking battle we fought on the 12th April 2013.
A little thinner on the ground than is usual at our little Friday night get together’s with just Ian, Jason and myself present. Ian treated us to a little Black Powder stand up fight set around 1745 between His Majesty’s forces and a Franco-Scottish force (figures and scenery supplied by his good self). This was to be an introduction to some of the more irregular Scottish units as all our previous fights had been much more regular v regular force affairs. Jason chose the British as his force leaving me with the Franco-Scotts. Ian acted as umpire to smooth play along.
OOB British
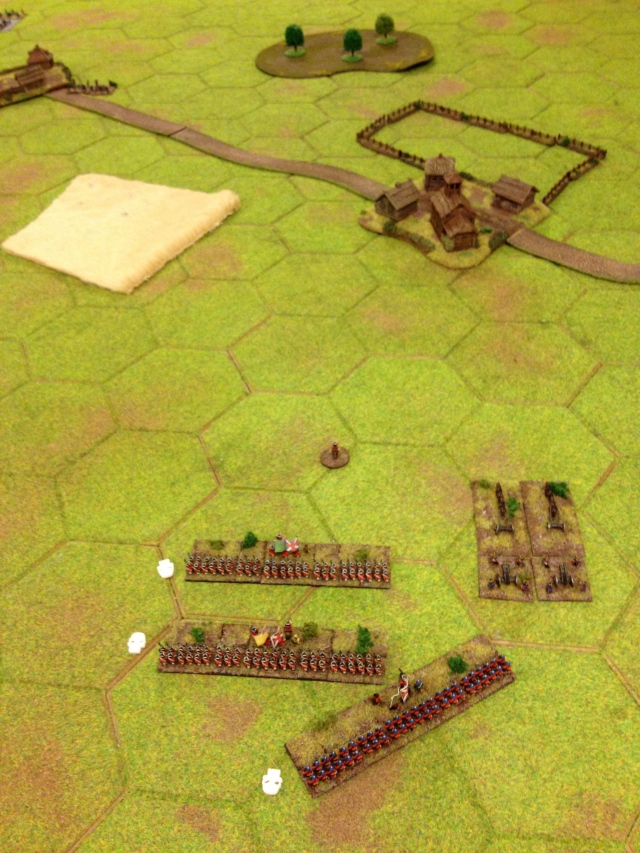
Right flank – One battalion of Scottish regulars in British service, two battalions of British Line, one 6lb artillery battery.
Centre – One battalion of Grenadiers, two battalions of British Line, one 6lb artillery battery.
Left flank – One regiment of Horse, one Regiment of Dragoons.
OOB Franco-Scotts
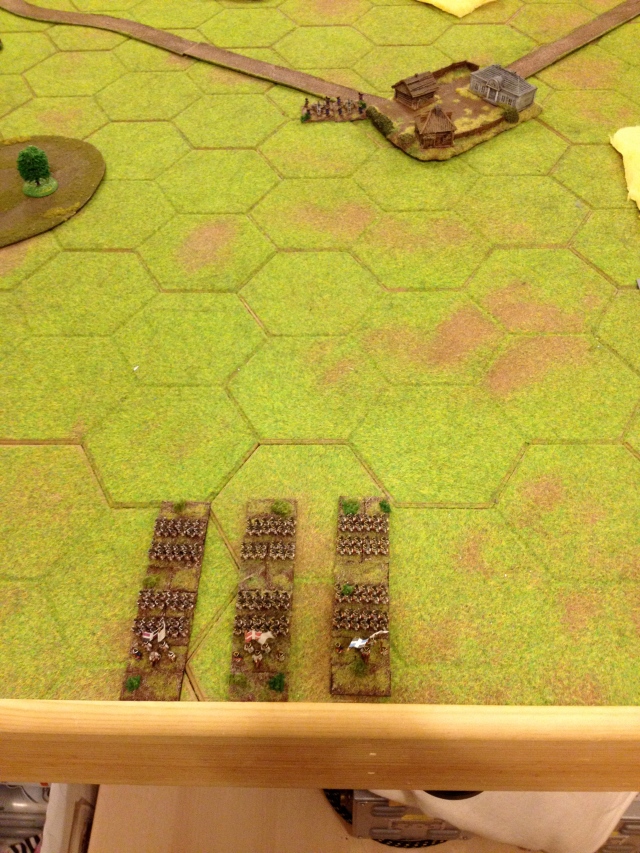
Right flank – Two Regiments of French Cuirassier.
Centre – One battalion of Highland clan, one battalion of Highland clan (warband), and two freshly raised Lowland Battalions, one small unit of Scottish Dragoons, one 3lb artillery battery.
Left flank – Three french line battalions, one 6lb artillery battery.
Troop Review
The British forces scream firepower, with all battalions being regular with the platoon firing special ability. In the cavalry match off the British Dragoons trade a little firepower at the expense of close combat abilities.
The Franco-Scotts have a more unpredictable force, best used to get up close and personal as their firing ability is a significant shade below that of their opponents. The central Scottish formation is where I thought the game would likely be won or lost. If they performed well and got in close they could overwhelm the enemy, if they got held up and a protracted firefight ensued then it was going to be a long day at the office.
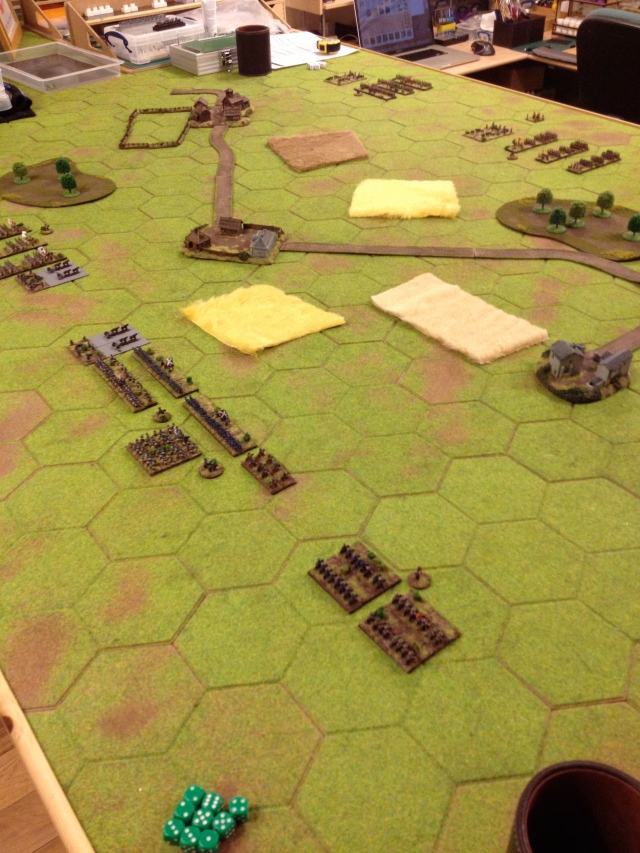
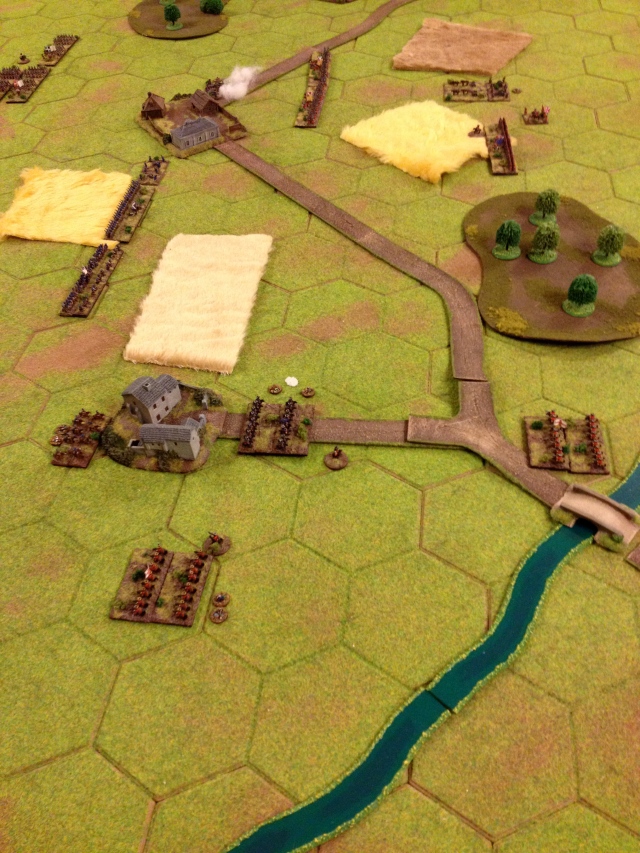
Initial Set Up
The games afoot
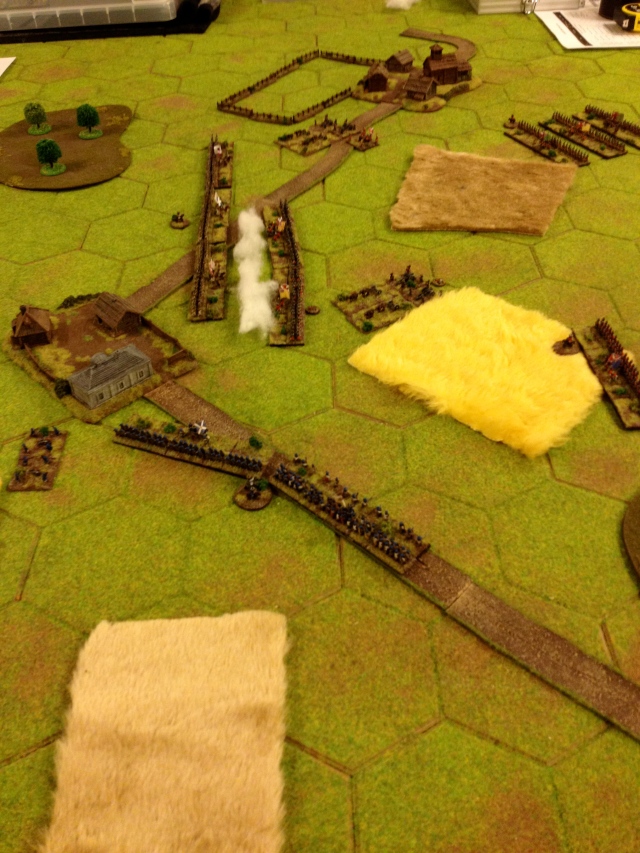
Dicing off to see who moved first saw the Franco-Scotts seizing the initiative. The Cavalry on the right received the first orders and made good progress to the bridge looking to isolate the enemy cavalry. The centre made lazy single move. The brigaded french artillery bounded forward and unlimbered next to the town. Then we ordered the French line to advance…… so first blunder of the day and following a 1 on the blunder table a double retrograde move took the French off the board!
With nothing else to move it was now the British turn. The British cavalry got right through the town, over the bridge and formed up facing off the French Horse. The British centre ambled forward. Next we moved over to the British right, the troops that were facing the now absent French! Ordering the Scotts forward to occupy the town they obviously heard there was little in the way of grog to be had there and decided to head back to camp, and following the second order blunder made a singe more right through the two british line units behind them. All of them failed their disorder rolls!
After such an eventful first turn we moved onto the second turn. The French Infantry decided to come back from off-board. The French horse were then ordered to charge the British cavalry before them…. and would you believe it, the third blundered orders of the day! Fortunately the troops reacted by moving one move towards the nearest enemy which brought the British horse into combat, but left the other French horse sat in front of the British Dragoons (not a good place to be absent guns).
Needing to try a swing the combat to my advantage I ordered the small unit of Scottish Dragoons to move up in support of the French Horse, this utilised their marauders ability as I would maintain control over them despite the distance from their brigade commander. Unfortunately they fell short of forming a supporting role.
The Scottish center with uncertainty creeping in decided to sit tight for now, although an order from the commander sent the artillery forward to set up the other side of the town where the French artillery had set up. The French artillery opened fire causing a casualty and disorder to the Limbered British artillery.
Next we moved to the combat between the two heavy cavalry. Both were bloodied as a result of the combat, unfortunately my French horse came off the worse and then managed to roll a 4 on their break test. First blood to the British. Using the sweeping advance he moved his Horse into contact with the small Scottish Dragoon Regiment. I opted for the stand a fire reaction in the vain hope of a 6 which wound cause his attack to flounder. No such look and I awaited the onslaught. With some poor dice rolls on Jason’s part the casualty rate on both sides was equal – only his combat resolution for being heavy horse won him the combat. The Dragoons managed to just about hold it together and retired in good order. The Dragoons managed to inflict a casualty on the British cavalry moving them to a shaken status.
With my cavalry in disarray on the right and the French having just rejoined the field things were looking a little sketchy. Jason opted to ‘Rally to me’ with his Horse. A round of fire from his dragoons saw the remaining French horse take a casualty. His central two Line units advanced to engage the artillery in a fire fight, whilst his grenadiers decided however to hold back and his artillery was disordered from the last round. The brigade on his right could do little as they were disordered as a result of his first turns blunder. Despite a hail of fire the French artillery suffered but single casualty.
Turn three became a little bit do or die. I attempted to move the Scottish Dragoons into the small town where his cavalry could not touch them and they could provide annoyance fire. Needing two moves to complete the manoeuver I managed just the one which left them like sitting ducks outside the town! Feeling the battle was slipping away from me I ordered the formed Highland clan and other lowland battalion advanced to form up alongside their artillery. I then tried to swing the remaining unit of lowlanders to provide some flank protection from the British Horse which was now hovering on my flank with only the Scots Dragoons there to provide a speed bump. The Lowlanders were obviously not so keen and were seemingly confused by their orders and so generally milled about instead. The French on the left made a slow but steady advance. Lastly I needed to turn the cavalry battle so charged the remaining French horse against the British dragoons hoping to drive them into the river. Damn it if he did not disorder me (causing the charge to fail) but caused a casualty as well.
Things were looking a bit bleak for the Franco-Scotts as we awaited further retribution from the British. Predictably the British horse charged in against the Scottish Dragoons, a little surprisingly Jason decided to charge the remaining French Horse with his Dragoons (although being disordered not only can they not counter-charge, but they also suffer additional penalties in combat). Across the rest of the British lines we saw relative inactivity with not a single formation from the center understanding their orders, whilst on the right the artillery moved up cautiously as did the infantry.
The firefight with the French artillery continued and we survived another round.
In the ensuing combats not surprisingly the Scottish Dragoons were hammered into the ground. It look ominous for the British Dragoons as I managed to roll 6 out of 9 dice scoring hits on a 5+. Jason then proceeded to save five of them! The combat was drawn but as I was disordered I was forced to retire, but could not as we had decided before the game that the small town to my rear could only be moved through and/or occupied by a small unit. So my entire cavalry force was now consigned to history. He used his consolidation move to form up his two cavalry facing my exposed flank.
Things were threatening to fall apart at the seams. Most importantly the rearmost Lowlanders passed their orders and moved to face the British cavalry. Opening fire on the British Horse determined that these fellows were reasonably trained (you roll to find out their quality when you perform a fire action or engage in combat!). Enough was done to shake the British Horse again. The Highlander warband made a slow advance as did the French.
On the British turn we saw the Dragoons dizzy with the success against the French Horse do a ‘Follow me’ and charge the Lowlanders. No disruption was achieved ans so they locked horns. The central British artillery finally moved up slightly, Jason’s Grenadiers seemed to remain confused at the back of the cornfield. The British artillery on the right moved into a reasonable firing position but did not have the move left to unlimbered and the reminaing British infantry ponderously moved towards the cornfield on the right. The ensuing fire saw the French artillery finally give out. So we moved onto the crunch fight between the Dragoons and the Lowlanders. It was a very close run thing with only the Lowlanders supports managing to swing the fight to their advantage. Jason rolling a 3 on the break test lost the Dragoons, along with his brigade commander (the only thing that was then capable of ordering the British Horse was the British general and he was three moves away at the other side of the board).
Obviously sensing the critical moment in the battle had arrived and the time to strike was now the French managed to triple move and take up point-blank firing positions against the two of the British line units and the still limbered artillery. With the Scotts swinging around the village to add to the pressure. The fire from the French however was less than to be desired inflicting a solitary hit on one of the British line units.
Things were getting a little congested in the center, Jason’s Grenadiers finally got to grips with the cornfield and advanced to its edge. Neither of his artillery moved (again), and his right flank Brigade continued its ponderous advance into the other cornfield. The return fire from the British against the French proved devastating – one unit was hit with all 4 dice and failed all 4 saving rolls! Fortunately it just retired from the firing line.
This now needed some pretty fancy manoeuver and rolling. Using initiative the Lowland Scotts charged the British in the flank, similarly the Highland Scotts charged the Grenadiers on initiative. The leftmost French Battalion had to succeed in a two move order (one to retire and then advance into the position vacated by the central battalion – this is the proximity rule coming into effect) which they succeeded using a ‘Follow me lads’ (or I guess a ‘suivez-moi des jeunes hommes’). To put the final boot in the Scots Highland warband also performed a ‘Wee-mi me-kin’ putting them in a position to support the Lowlanders assault.
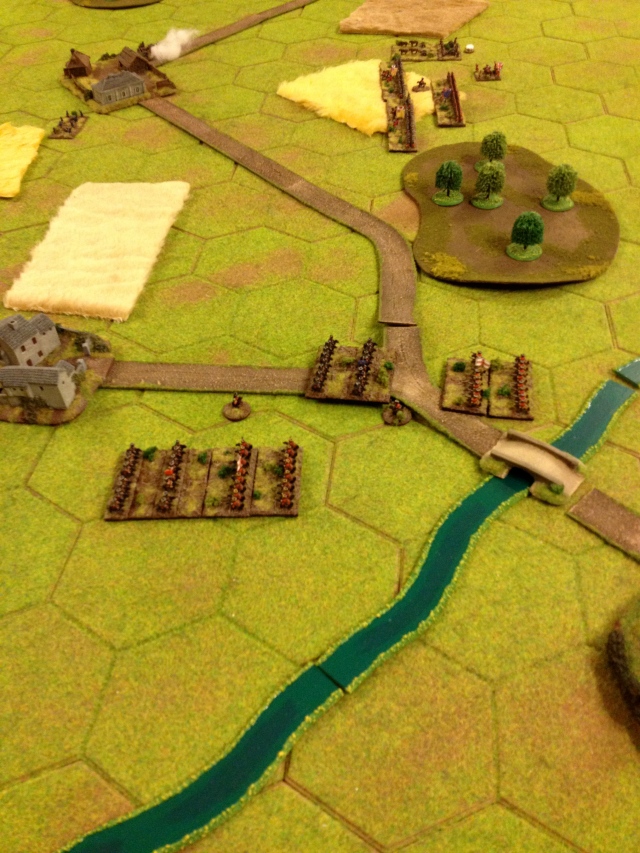
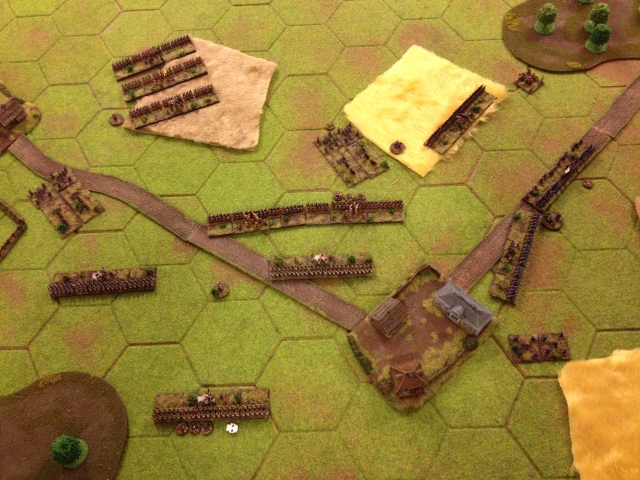
Rolling for the reaction of the Grenadiers to the ‘Terrifying Charge’ they withdrew back through the cornfield. With the one British Line battalion engaged in combat that meant the two French battalions were able to concentrate their fire on the remaining British Line battalion, causing it to break and flee. The combat then between the British line and the Lowlanders on their flank was one-sided and enough to break them also, and with them the second brigade and the British army. Long live Bonny Prince!
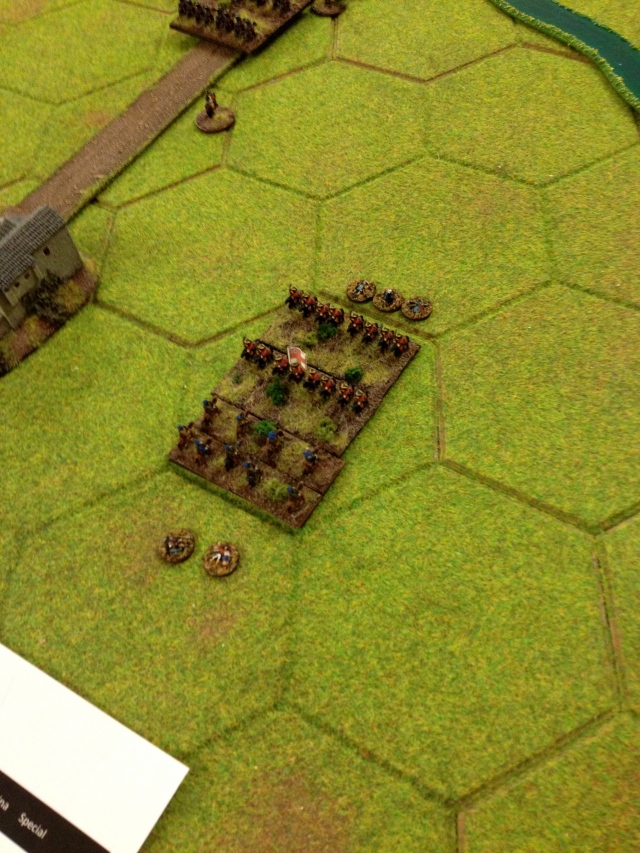
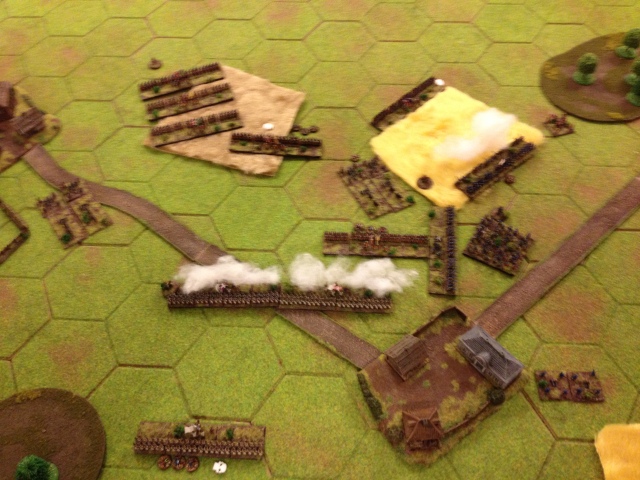
(Shame it was out of focus, but have included it to show final relative positions).
Aftermath
My first game of BP put me off it for some 18 months – it was an introductory game with British colonial forces v Zulus. The opposing ‘team’ managed to roll all their forces on with three moves and so took the ridge and completely set themselves up. When the gatling gun opened up and rolled 17 consecutive 6’s wiping out half our force it was game over before it had begun. Ian has re-introduced our little following to the rules and I must say it is now one of my all time favorite games.
This game like all our others we have played the winner has remained unpredictable until the last, and both sides have had the opportunity to close the deal if the dice were kinder. What I think ultimately did for Jason in the end was the relative inactivity of over half his force, which allowed me to isolate enough to clinch the win despite not having the run of the dice in shooting and combat until that point.
Our thanks to Ian for running this game for us. Down side is that I now want to expand my SYW collection (and replace some units with our sabot based ones), and I have quite enough projects on the go at this moment in time…..
